First steps
After going through the Installation section and having installed all the operators, you will now deploy a NiFi cluster and the required dependencies. Afterwards you can verify that it works by querying the REST API.
Setup
Two things need to be installed to create a NiFi cluster:
-
A ZooKeeper cluster for internal use by NiFi
-
The NiFi cluster itself
We will create them in this order, each one is created by applying a manifest file. The operators you just installed will then create the resources according to the manifest.
ZooKeeper
Create a file named zookeeper.yaml with the following content:
---
apiVersion: zookeeper.stackable.tech/v1alpha1
kind: ZookeeperCluster
metadata:
  name: simple-zk
spec:
  version: 3.8.0-stackable0.7.1
  servers:
    roleGroups:
      default:
        replicas: 3
and apply it:
kubectl apply -f zookeeper.yamlCreate a file nifi-znode.yaml with the following content:
---
apiVersion: zookeeper.stackable.tech/v1alpha1
kind: ZookeeperZnode
metadata:
  name: simple-nifi-znode
spec:
  clusterRef:
    name: simple-zk
and apply it:
kubectl apply -f nifi-znode.yamlThe ZNode makes sure that the NiFi cluster will operate in its own separated directory in ZooKeeper.
NiFi
The NiFi cluster requires authentication. In order to provide credentials, create a file named nifi-admin-credentials.yaml with the following content:
---
apiVersion: v1
kind: Secret
metadata:
  name: nifi-admin-credentials-simple
stringData:
  username: admin
  password: admin
and apply it:
kubectl apply -f nifi-admin-credentials.yaml
Create a file named nifi.yaml with the following content:
---
apiVersion: nifi.stackable.tech/v1alpha1
kind: NifiCluster
metadata:
  name: simple-nifi
spec:
  version: 1.16.3-stackable0.1.0
  zookeeperConfigMapName: simple-nifi-znode
  config:
    authentication:
      method:
        singleUser:
          adminCredentialsSecret: nifi-admin-credentials-simple
          autoGenerate: true
    sensitiveProperties:
      keySecret: nifi-sensitive-property-key
      autoGenerate: true
  nodes:
    roleGroups:
      default:
        replicas: 2
and apply it:
kubectl apply -f nifi.yaml
This will create the actual NiFi cluster.
Verify that it works
First, make sure all pods are ready:
kubectl wait -l statefulset.kubernetes.io/pod-name=simple-nifi-node-default-0 \
--for=condition=ready pod --timeout=1200s && \
kubectl wait -l statefulset.kubernetes.io/pod-name=simple-nifi-node-default-1 \
--for=condition=ready pod --timeout=1200s
Then make sure the StatefulSets are ready:
kubectl get statefulsetThe output should show all pods ready:
NAME                                 READY   AGE
simple-nifi-node-default             2/2     5m
simple-zk-server-default             3/3     7m
Congratulations, you successfully created your first NiFi cluster.
Access the NiFi web interface
You can retrieve the URL for the NiFi cluster web interface via stackablectl or kubectl.
stackablectl
Use the service command of stackablectl to get a list of all available endpoints:
stackablectl svc listwhich should return something like this:
 PRODUCT    NAME         NAMESPACE  ENDPOINTS                       EXTRA INFOS

 nifi       simple-nifi  default    https https://172.18.0.3:32595

 zookeeper  simple-zk    default    zk    172.18.0.3:30173
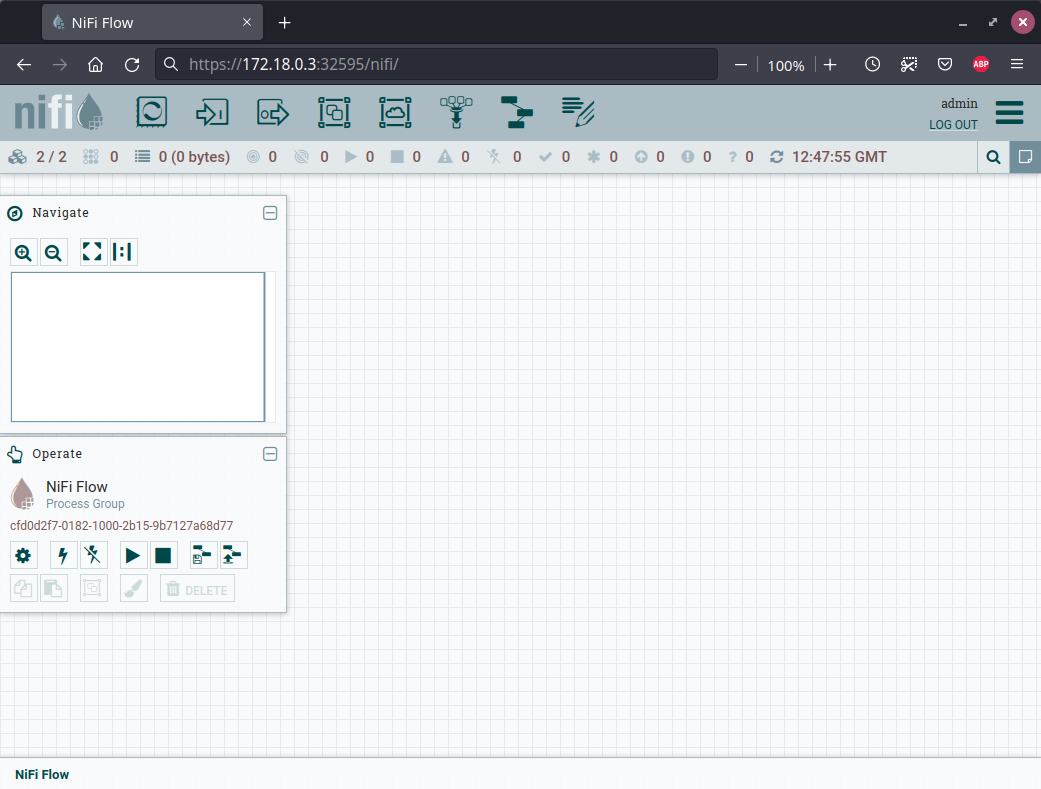
Then connect to https://172.18.0.3:32595/nifi and you should see the NiFi web login. After providing the username admin and password admin you are redirected to the NiFi web interface.
Via kubectl
Extracting the IP and port via kubectl is cumbersome. We recommend using stackablectl instead. The following kubectl commands store their output for further use in a variable and write its content to stdout afterwards. Make sure to run these commands in the same terminal:
nifi_node_name=$(kubectl get endpoints simple-nifi --output=jsonpath='{.subsets[0].addresses[0].nodeName}') && \
echo "NodeName: $nifi_node_name"
which should output a single node name where a NiFi pod is scheduled:
NodeName: kind-workerRetrieve the IP of that node:
nifi_node_ip=$(kubectl get nodes -o jsonpath="{.items[?(@.metadata.name==\"$nifi_node_name\")].status.addresses[?(@.type==\"InternalIP\")].address}") && \
echo "NodeIp: $nifi_node_ip"
which should output the internal IP of that node:
NodeIp: 172.18.0.3Finally, retrieve the NodePort of the simple-nifi service:
nifi_service_port=$(kubectl get service -o jsonpath="{.items[?(@.metadata.name==\"simple-nifi\")].spec.ports[?(@.name==\"https\")].nodePort}") && \
echo "NodePort: $nifi_service_port"
which should output the NodePort:
NodePort: 32595Now build the full URL:
nifi_url="https://$nifi_node_ip:$nifi_service_port" && \
echo "NiFi web interface: $nifi_url"
which should output a URL to connect to the NiFi web interface:
NiFi web interface: https://172.18.0.3:32595Then connect to https://172.18.0.3:32595/nifi and you should see the NiFi web login. After providing the username admin and password admin you are redirected to the NiFi web interface.
What’s next
Have a look at the Usage page to find out more about the features of the NiFi Operator.